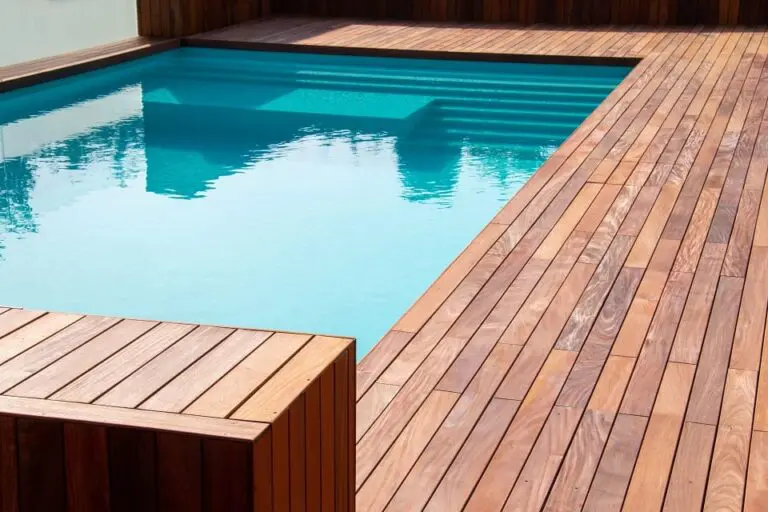
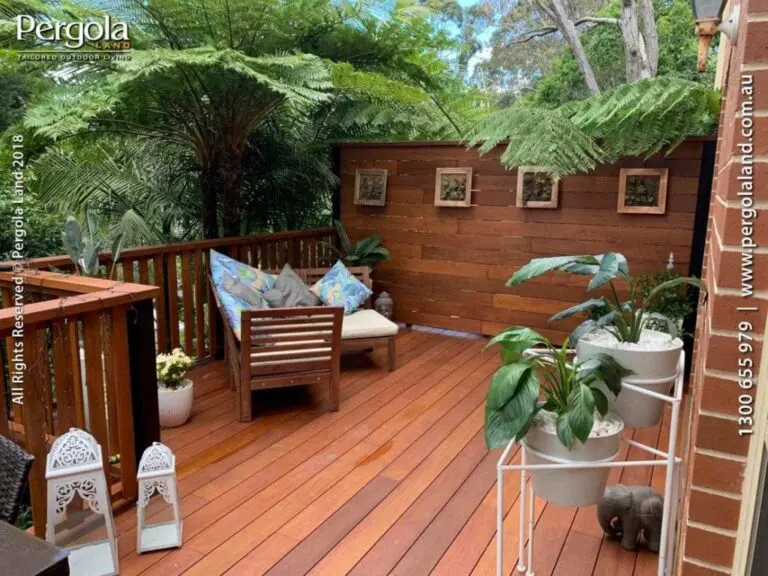
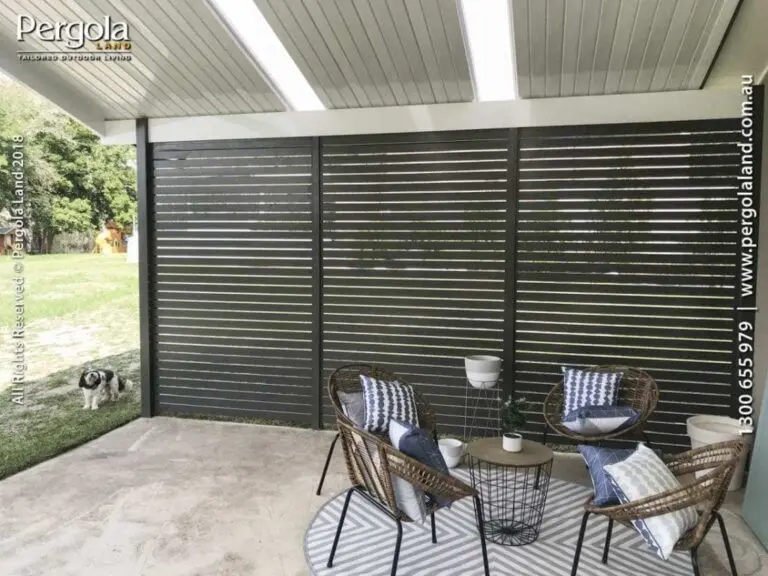
Do you want a place to escape to without having to leave all the comforts of home? Why not escape at home! In the time that you’d spend travelling to most holiday destinations, and for a fraction of the cost, you could clean up your own backyard and make it the perfect place to escape.
For many people, the main attraction of a holiday is that there’s nothing to do but relax. For guilt-free relaxation at home, start off by tending to all those “when I get around to it” jobs.
Cleaning the deck is an easy, low-cost job to begin with. Decks appreciate a bit of love every now and then, and a good clean makes them safer, preserves their surface, and can give their appearance a dramatic boost.
Here are some easy tips to clean up your outdoor decking area and make it the ideal place to seek some solace.
- Clear the decks
No matter what type of surface your deck is, your first step is to remove the furniture and see if you have any damage to fix or stains to remove. If you can’t move all your furniture to a place in the garden, stack it all in a corner of the deck. - Sweep the deck
Organic material can be swept into the garden, but everything else should go in the garbage. Your deck is looking better already, but don’t stop yet! - Prepare for cleaning
Purchase or mix your own deck cleaner that is suitable for your deck surface. For timber decks, a solution of oxygen-available bleach (not chlorine bleach) and water is often sufficient. You’ll find oxygen-available bleach in several laundry products at your local supermarket. One part bleach to ten parts water should do the trick. A tablespoon of trisodium phosphate (TSP) solution in a bucket of water is safe for all tiled surfaces. Most natural bristle scrubbing brushes will not damage a tiled surface, but always test a small area before scrubbing the entire deck. Pressure washing with plain water may be sufficient for paved areas. If using a commercial cleaner, read the instructions carefully and test the solution on an inconspicuous area before covering the whole area. Deck cleaners can be toxic, so cover any plants and furniture that you want to protect with plastic sheeting. Protect yourself with rubber gloves, long pants, long sleeves, and covered footwear. - Cleaning the deck
How you apply the cleaning solution will depend on the size of your deck, the amount of staining, and your time and budget. For light cleaning, you can use a broom to sweep the solution across the deck. Be sure to cover the whole area, including stairs and railings. Grid or plank-by-plank methods are effective strategies to ensure complete coverage. - Let it soak in
Leave the solution to soak in for ten minutes before tackling the stains. - Stains and inground dirt removal
Older stains will probably need a scrubbing brush or a power washer. Hiring a power washer for a large deck is a worthwhile investment that will save you time and energy. If hiring, ask to see the owner’s manual so you can find the correct setting and nozzle for cleaning your deck. When using a power washer, only hold the nozzle as close as you need to to get the deck clean. If using a scrubbing brush, only scrub as hard as you need to to remove the dirt, and use a bristle that is suitable for your deck surface and cleaning solution. - Rinse your deck
Hose the deck down with a garden hose or clean lukewarm water from the pressure washer. Make sure you rinse every surface, and hose down the plastic sheeting on the plants and furniture. - Drying your deck
If you’ve chosen the right day to clean, your deck shouldn’t take long to dry. But if the weather has provided a sudden rainstorm, head indoors while mother nature gives your deck an extra rinse. - To seal or move back in?
Once your deck is dry, you can start moving the furniture back onto it. Before you do, you might want to consider sealing it. A properly sealed deck will look good for longer between cleaning and will be better preserved. Now that your deck is clean, it’s a great time to seal it. - Relax
Step 9 may have been a bit of a detour on your way to the perfect escape, but sealed or unsealed, your deck is now ready to enjoy. Take a break and admire your “good as new” deck. You now have the perfect escape – and it’s just out the back door.


